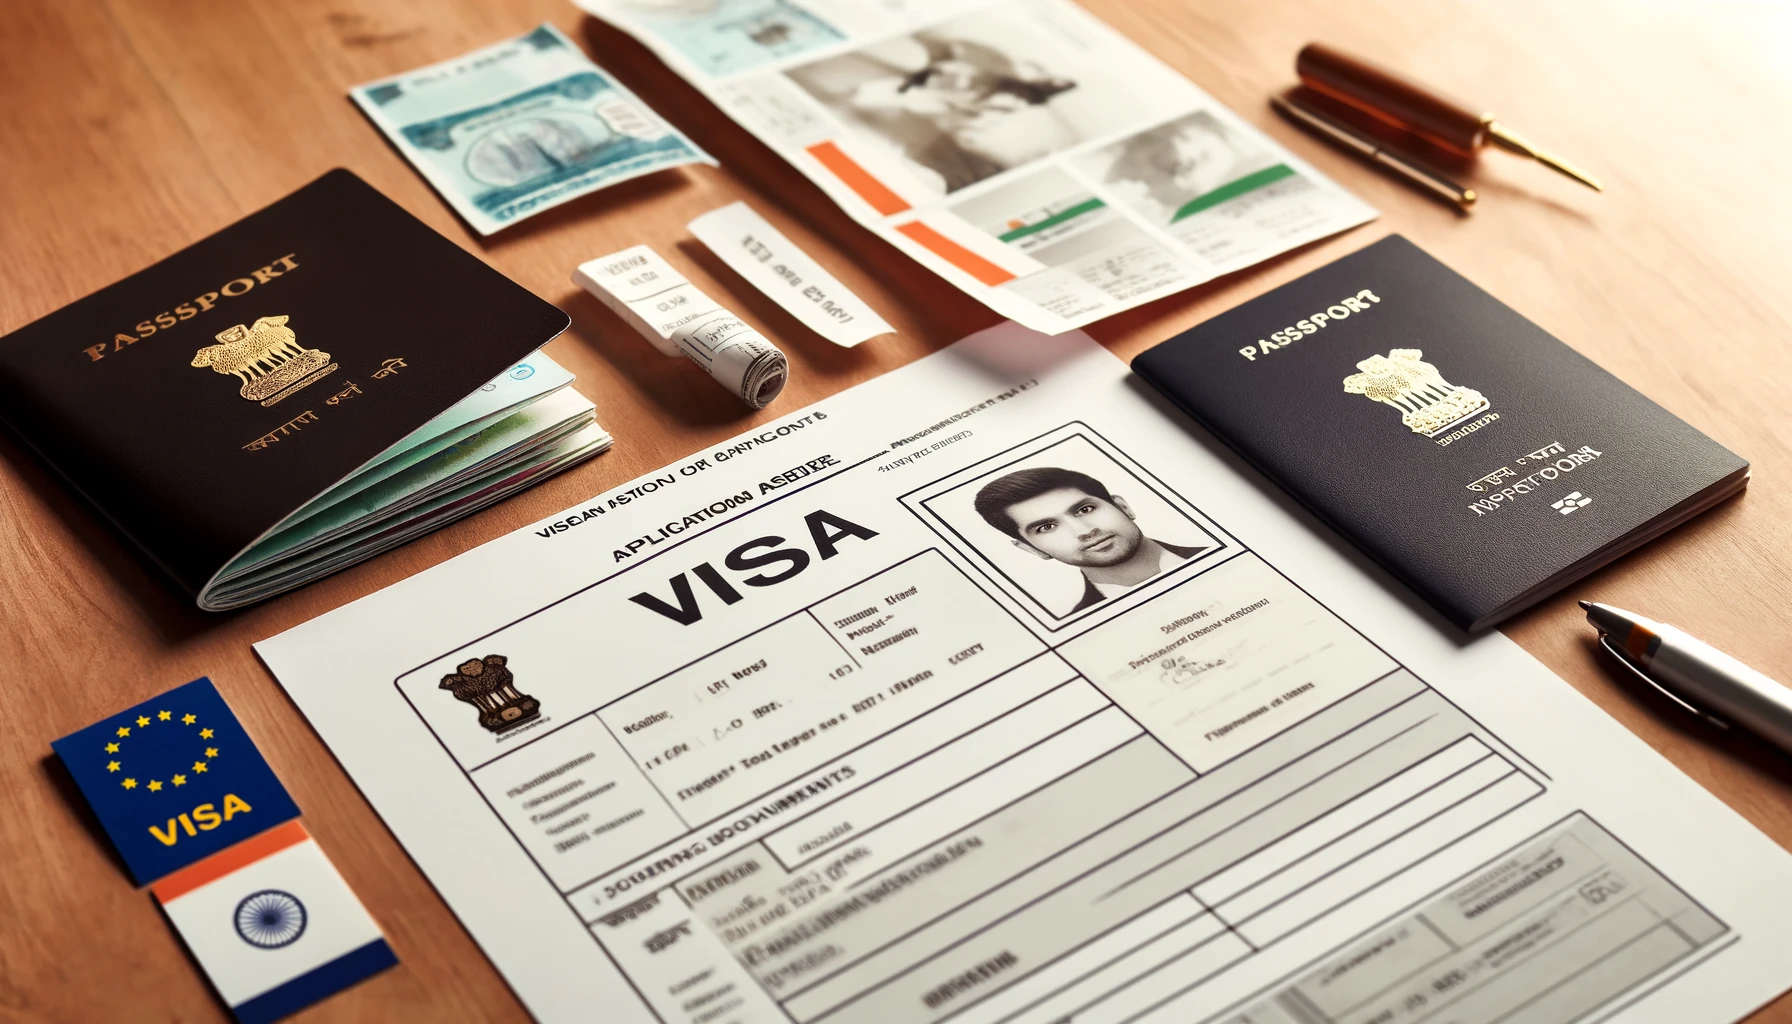
Do you wish to visit India but do not know where to start? The most vital part of any journey is the preparation, which usually involves careful planning and organization of all processes. When it comes to traveling to India, one of the first steps is obtaining your tourist visa.
Indeed, it may seem daunting at first to arrange this procedure, yet with the right guidance, one may do it on their own. So, which steps is it necessary to take, when and where to get the visa, and how is it even connected to phone location trackers in the end?
The Indian Tourist Visa: What Does It Mean?
An Indian Tourist Visa is a legal document that gives an opportunity for a foreign national to visit India for tourism purposes. As such, a visa may be granted for a period of 6 months, yet this can anyway vary based on the applicant's nationality and the type of visa obtained before (if so).
In fact, there are two main types of visa: an e-visa and a standard tourist visa. Unfortunately, e-visa is available to citizens of a few certain countries. Those who are not eligible for the e-Visa must apply for a traditional tourist visa, which requires submission to an Indian consulate or embassy in your country of residence.
Gathering Necessary Documents
Before you apply, it is important to gain all the required documents (mentioned by the responsible institution). Usually, these include:
Passport: Your passport should be valid for at least 6 months with at least two blank pages.
Photographs: Recent passport-sized photos.
Travel Itinerary: A detailed plan of your trip, including flight bookings and accommodation details.
Financial Proof: Bank statements or other documents that demonstrate one's financial ability to travel.
Other Documents: Sometimes, there might be required travel insurance, a letter of invitation (if visiting friends/family), or proof of prior visits to India.
Creating Your Itinerary
The itinerary is the key. For an embassy, it is the best illustration of the goal and format of your journey, which may increase your chances of application approval. Your itinerary should necessarily include:
Travel Dates: Arrival and departure dates.
Accommodation Details: Hotel bookings or other proof of where one will be staying.
Planned Activities: Key attractions, cities, and landmarks to visit.
To be more precise, one is welcome to utilize location-tracking apps like Number Tracker to make this process easier. First of all, this may help one analyze the movement patterns of those who are planning to go, plan travel schedules, understand previous experiences, and even keep track of family members/friends in real time (when on the spot, though).
Filling Out the Visa Application Form
One more step finally focuses on the application itself. When you wish to get an Indian tourist visa, you should be as accurate as possible. This is what you should be prepared for when filling out the application:
Online Application Portal: Most applications, especially for e-Visas, are done online via the official Indian visa website or in the local embassies/dedicated visa centers.
Personal Details: Complete all fields accurately, according to the information in your passport (e.g., the right spelling of the name, date of birth, passport number).
Trip Details: Provide precise travel dates, destinations, and accommodation details (see itinerary).
Prepare Documents: Scan, upload, or take the required documents, such as your passport photo and a PDF of your passport’s bio page, bank details, etc.
Double-check: Review the form thoroughly before submitting it.\
Save a Copy: After submission, save or print a copy of your application for reference (just in case).
Visa Application Fee and Payment
Based on your country of origin/residence, it may be necessary to pay the visa application fee, which is not high, as a rule. Besides, in the case of an Indian Tourist Visa, fees for an e-visa are often lower compared to a regular Tourist Visa.
In general, one is to prepare credit or debit cards used to make payments online via secure portals, and it is also crucial to confirm that their card is approved for foreign transactions. As soon as the payment is completed, you will receive a receipt or confirmation as evidence of payment. Remember that even in the event that your application is denied or withdrawn, visa payments are non-refundable.
Submitting Your Application
After completing the application and obtaining all the required documents, it is time to submit your application for a visa. Once your documents have been received and the visa money has been paid, you will be given an application reference number or any other type of confirmation. To find out the status of your application, keep this number to check it online.
Moreover, you might also be invited to visit an Indian embassy or consulate in your country to get interviewed and finally obtain a tourist visa. Remember that applications may occasionally be processed by accredited visa processing facilities, which should be explored in advance. In this case, the communication will be directed through this facility. Check if an appointment is necessary, and when you visit in person, bring both the original documents and photocopies of them.
While traditional visas may take longer to process, e-Visas are usually accepted within 3–5 business days after submission. Your visa will be emailed to you (for e-Visas) or returned with your passport after it has been granted.
Do not be afraid of this red tape. Stay calm, prepare all the documents, and let your journey begin!


